We’ve got three video steps below for you to watch. Trust us — you’ll want to see how easy it is to scan your photographs.
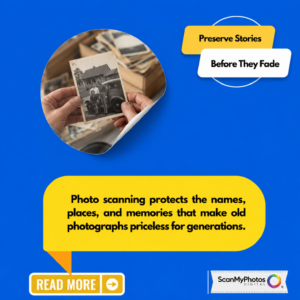
Welcome to the most straightforward photo rescue mission ever. You’ve got printed memories in boxes, albums, and drawers — and you’ve been meaning to digitize them. But let’s be real: it sounds complicated, right? Not anymore. At ScanMyPhotos, we’ve made the whole process as easy as pie. You don’t need a tech degree or an afternoon off — just a few minutes and your photo stash.
We broke it down into three super simple steps. Bonus: We included short videos so you can see how it works before you even start.
STEP 1: Prepare Your Photos for Scanning
Just gather your printed photos — stack ’em up, bundle them with rubber bands. You’ll see in the video below how fast and simple this step is. It’s like packing a lunchbox full of memories. Full details on how to prepare your photos for scanning.
STEP 2: Watch How Fast Your Pictures Are Digitized
Once your photos arrive at our headquarters in Irvine, CA, that’s when the magic kicks in. Our professional scanning team and archivists use ultra-fast, high-res technology to digitize your memories. Choose the same-day scanning upgrade if you’re in a rush. Watch this part unfold in real time in the video—it’s like seeing your past come alive, frame by frame. And don’t worry — your originals are always handled with care, and they’re safely returned to you.
STEP 3: See the Results — Why People Are Going Digital
Here’s the emotional part. Watch this story about how we digitized 347,000 photos and the results. Full story here.
Ready to get started? Hit “Order Now” and let us take care of the rest. Have questions? Our photo archivists and concierge experts are here to support you every step of the way. Click to ask your questions.